Featured Product


Featured collections
-
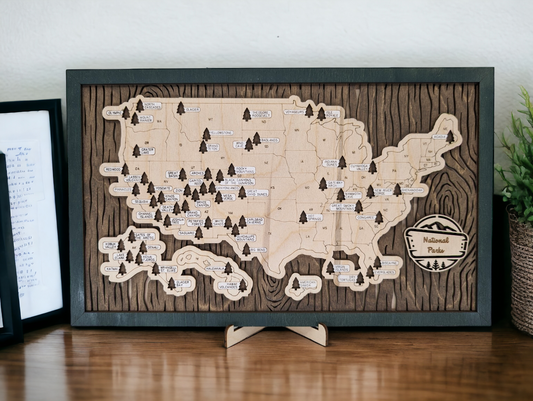
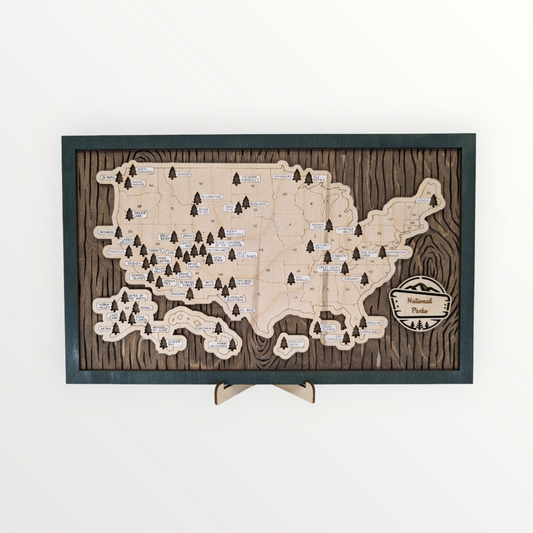
National Park Travel Map
Regular price $95.00 USDRegular priceUnit price per -
 Sold out
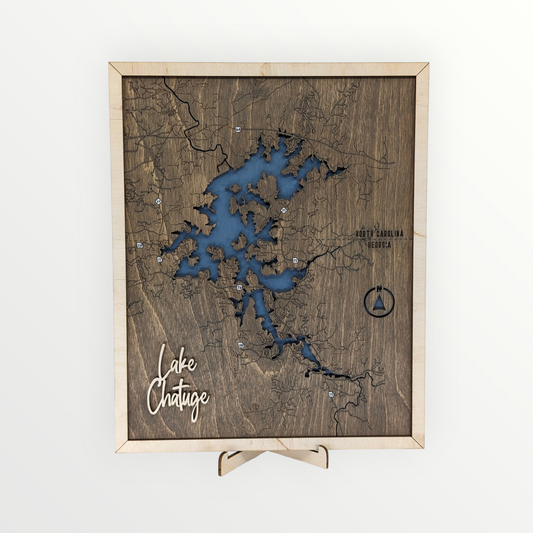
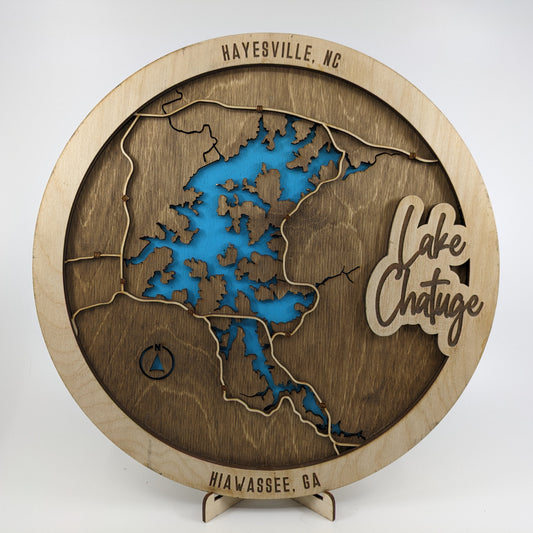
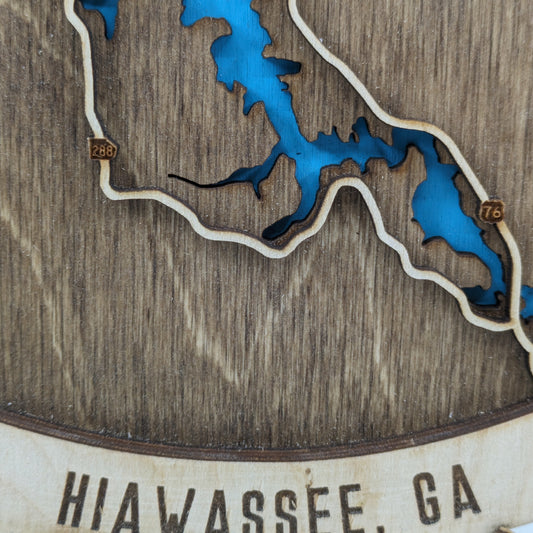
Lake Chatuge Layered Map - Round
Regular price $80.00 USDRegular priceUnit price per -
Lake Chatuge - Laser Cut Map
Regular price $95.00 USDRegular priceUnit price per -
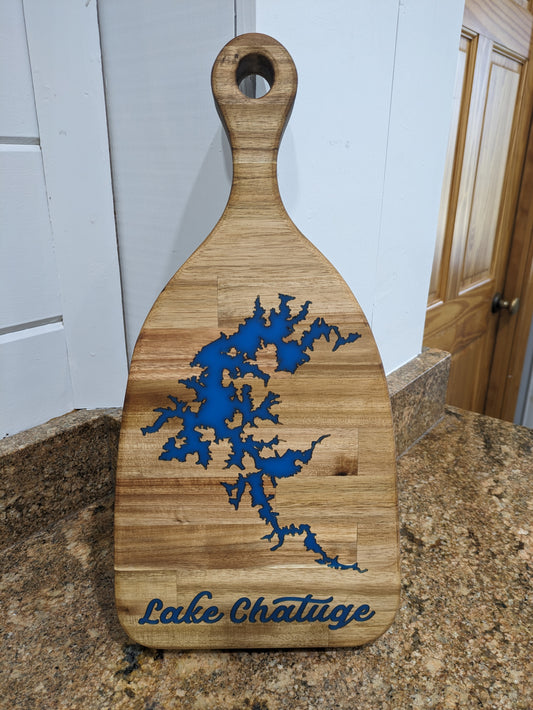
Lake Chatuge-rie Board
Regular price $100.00 USDRegular priceUnit price per